Showing posts with label DIY. Show all posts

Friday, November 21, 2014

DIYers Dream Session, December 10th (SOLD OUT)

Perfect items for the Ho Ho Holidays...we have our new trays, wreath stands, and fresh frame options for this DIYer's Dream Session.


DIYers Dream
Wednesday, December 10th
6-9pm


Project options:
*Coffee Table Tray
*Wreath/Door Hangers Stand
*Joy Porch Sign
*Round 5x7 Frame
*Gotham 8x10 Frame


Coffee Table Tray Option
*Paint & personalize in your choice of colors
*Make great gifts 
*Perfect for breakfast in bed

Wreath Stand Option
*Choose from a variety of pole options, then paint to suit your decor
*Perfect for J2J door hangers or those who can't hang items on their front door
*Looks great by the hearth


Round 5x7 Frame Option
*20" round frame
*Finish in patterns & colors of your choice

Gotham 8x10 Frame Option
*New Whimsical frame option for your gallery wall
*Finish in the colors & pattern of your choice

Joy Porch Sign Option
*2 Choices: With Wreath or Without
*Learn the tips & trips for distressed chippy finishes
*Choose Colors & Pattern to personalize
*Bow is NOT included but can be added in class for an additional $5 if you choose


DIYers Dream, Paint Session Options


Cancellation Policy You must provide at least a 24 hour advance notice if you cannot make your reserved class in order to receive a credit toward a future class. No refunds will be issued as payments are processed at the time the reservations are made. 

Saturday, July 7, 2012

Lamp Makeover

Follow Me on Pinterest My ALL TIME favorite Saturday morning activity may be junkin'...looking for a good piece of junk at flea markets, garage sales & auctions just starts a weekend off right for me. You can find a score like these...
Okay so maybe in this picture it looks like HIDEOUS dusty old piece of junk but I see an oversized lamp with lots of detail and potential. Bonus - they cam in a set of two for $16! These babies are big, like 4ft tall and just waiting to live in my home. So I loaded them up pronto.

I finally got to do a little make over on them yesterday. Lamp make over's are a quick - instant gratification project - which I love. I used some Emerald/Kelly Green spray paint from good ole Walmart and some Chevron/Ikat fabric found at Hobby Lobby with poppin' color to turn drab into something pretty fabulous...


If you haven't tackled making over a lamp - you can find them at thrift stores for under $10 so they are a great crafty project for anyone to try. You typically need about a half a yard of fabric of your choice, hot glue, spray paint primer and spray paint in the color & finish of your choice. Spray your lamp and while it's drying adhere the fabric around the top and bottom rim of the shade, pulling taunt as you go. You can cover rough edges & seams with decorative ribbon or trim as well for a more finished & custom look too.

Amazing what 30 minutes can do...

Friday, July 6, 2012

Cowgirl Bedroom Surprise reveal

Our dear daughter was away at camp for the first time ever for a WHOLE WEEK and instead of sitting back and relaxing we had to find something to keep us busy! We had been collecting pieces and ideas (via Pinterest Follow Me on Pinterest) for her bedroom for the past couple months and this was the perfect opportunity to pull it all together and give her the girly cowgirl room she has been wanting. So our relaxing parenting free week turned into project surpise for our little cowgirl.

We mainly re-purposed items we had or made each element in her room. Here is the grand tour.

The bed is kinda the best! The headboard is made with old rusty corrugated metal we salvaged from a barn we are tearing down. The bedding we ordered from Amazon.


The fab burlap pillows were made for me to match her bedding - very reasonbly!!! They are from Lola & Bea and many of her pillows are available at Vintage Glam & Junque in Rogers. Love to shop local when we can : )


While we love old things we don't live in an old home so sometimes adding character and architecural elements (essentials to the cowgirl vibe) is tough. We used a metal tin shelf above the window to add a touch of this. It was a great fix for an awkward window placement for curtains too.

Below the window we have a hope chest (AKA Toy storage) turned window bench. It's a great little reading spot and very functional which is important for kiddos rooms. The hooks beside the window are also great for her purses & book bag. If everything has a spot, it's more likely to get put away there right??? PS;YES that is a real cow skull there and Kaia selected as a room element herself! EWW

A box sign I love for empowering a tween girl - heck a girl of any age needs to know this!

Another hand picked item for her room were these horns that I got at an estate sale and my crafty hubs mounted them to an old architecual peice of wood to make it stand out even more.


This is part of the collage/gallery wall that contains lots of collected cowgirly elements (horse shoe, rusty barbwire & horse chalkboard) along with favorite photos. I (with my niece & newphew) made the "All good things..." art piece with a scrap of wood, crazy painting & some letter stickers. I love this quote because it always makes me think of her free spirited nature and it's another personal element to her room.


This fabulous PINK dresser with paisley top and glazed distress detail may be my favorite thing in the room. I took an antique and made it girly for our cowgirl and just coulding be happier with how it turned out. Another feature in the room that adds loads of character is the old barn wood wall behind the dresser (again reclaimed from an old house we are tearing down). My husband also crafted the marquee horseshow which is a great night light ; )


One solution I was looking for in the room make over was more display space for all Kaia's little things. She loves to display her trophies, ribbons, drawings, rocks and trinkets she finds. All those elements will now be store in this area. The corkboard is HUGE like 3 feet x 4 feet and we re-did the book case with trim and a pallet wood top to function in the room as well.


For a nightstand we repurposed an industrial metal cart with great color & character and proped and old yellow door we had behind it. I painted mason jars & made burlap flower arrangements in each one. I also shabbied up a lamp we had and a skeleton of the shade with burlap. Some of my dad's old western books are even added to the table which is a personal nod to him maybe only I know.


The last thing in this rather LONG post is the "you are my everything" subway art type sign which is made by Go Jump in the Lake signs and it's big & the perfect shade of pink the room.
I hope she knows she is everything to us! We love ya girl! XOXO - mom & dad

Now you can see what she thinks!

Saturday, May 5, 2012

Master Bedroom Series (Inspiration & Progress Update)
As part of the master bedroom make over series I wanted to share some of the bits of inspiration for the room. I have collected many of them on my Pinterest boards but wanted to share a few of my favorite things and how they relate to our bedroom. We are going for a Grey, Yellow & pops of Teal color scheme like this one from Design Seeds. I think it will be warm but modern still too.


This bedding is by Urban Outfitters and it's ruffle LOVE. A great blend of masculine color and feminine ruffles. My bedding is being made in a similar way with a variety of Joel Dewberry fabrics by an amazing seamstress who I'm lucky to have as a friend. Can't wait to see the final product.

We have a large window seat in the room begging for some curtains and I selected a fabric from Decorate 23's Etsy shoppe. It's this over sized Chevron patterned which are also being made for the room. It was more economical for me to buy 9 yards of fabric and get LONG drapes made than to go out and order/find them in what I wanted for the room so keep that in mind when doing drapes for your own home because window treatments can get spendy.


Since the walls and bedroom will be largely grey in color I need to find ways to bring in those pops of color that make it fun and unique. So I have already started making over our furniture and purchased an over sized old door for the headboard. Here are a few peaks and pieces so far.
 
The Mr. didn't want a yellow or grey dresser so he got distressed white with a little funk on the numbers.


http://www.etsy.com/shop/walljunque Our Whimsical Wall {jUnQuE} frames in Grey & Yellow.


We took our exsisting night stand and painted them Yellow and sanded then distressed with glaze for a worn look.


Here is a thrift store lamp find I made over to fit the room and add some of those turquoise pops I want.

Stay tuned for MORE from our bedroom series makeover as it starts to come together!
 
Katie


Sunday, April 22, 2012

Master Bedroom SERIES (Floors & Paint)

We will call this blog post the first of a series because we are two months in and I only have parts done to show ya. We are in the process of making over our blank slate of a master bedroom in our new home...

THE BLANK SLATE
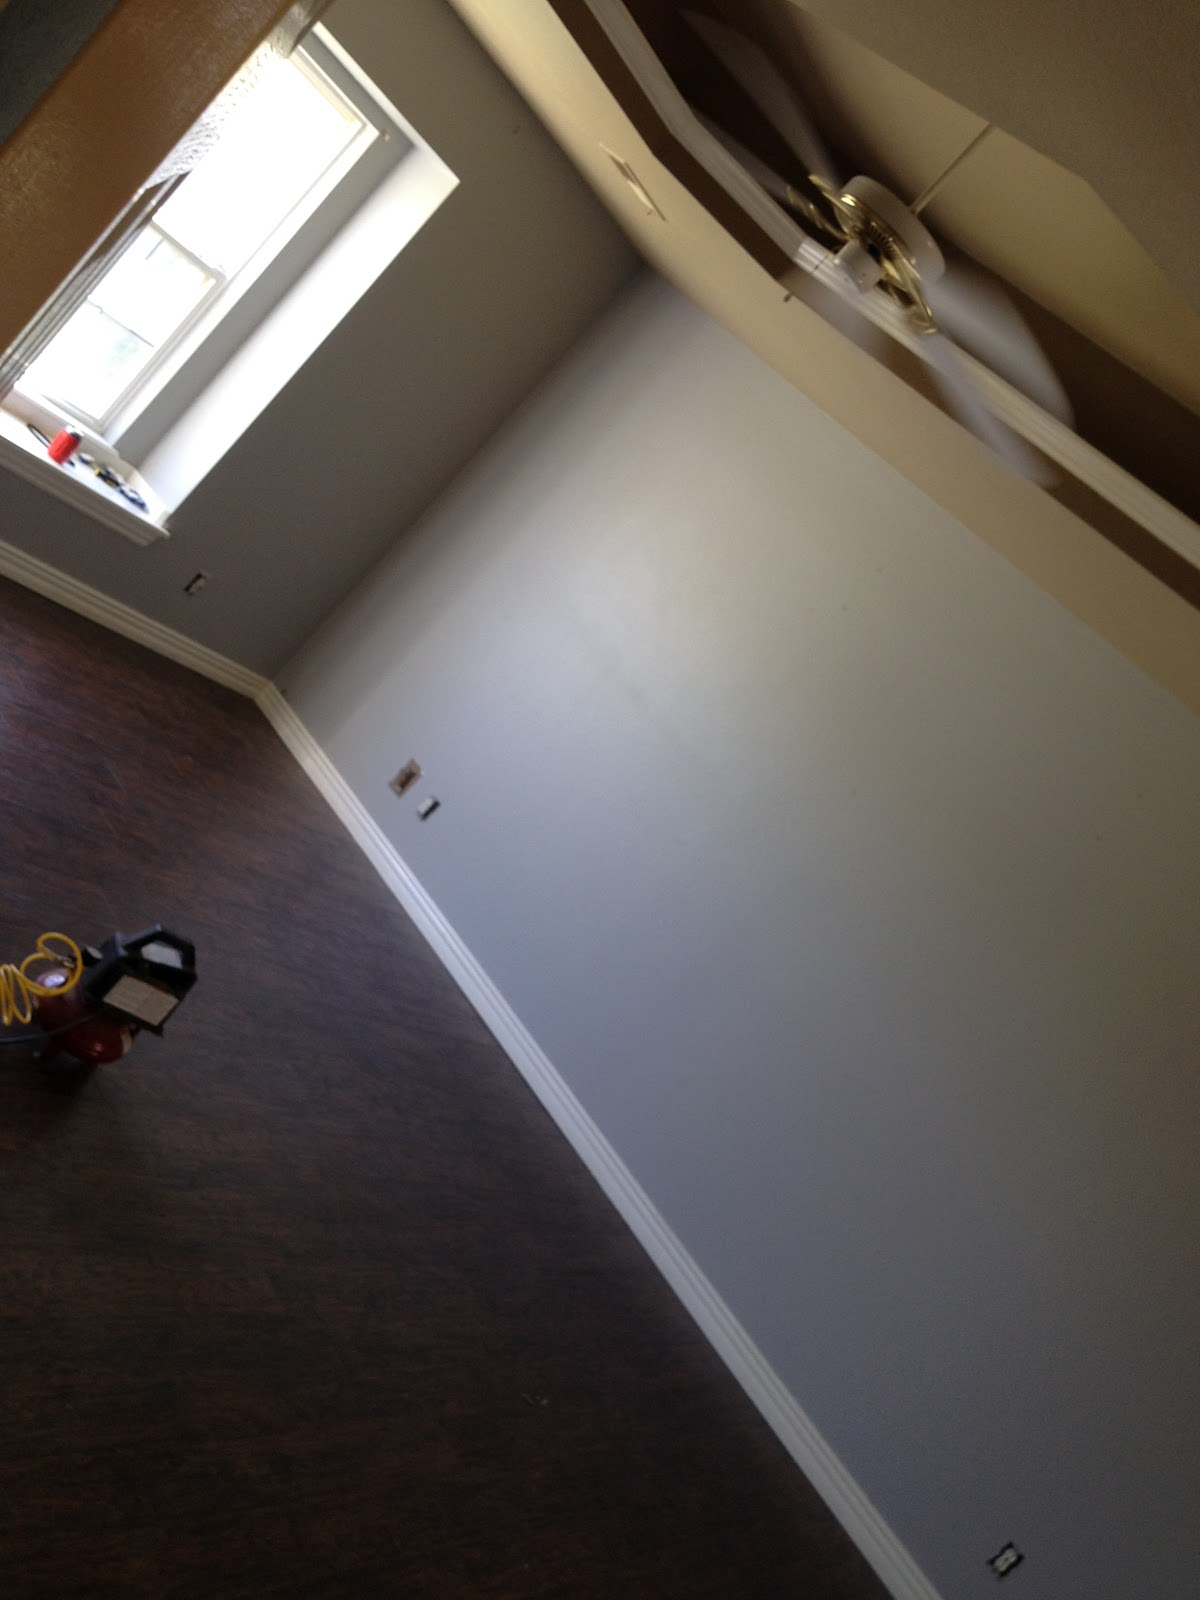
(ugly carpet with holes, dingy brown walls and a yucky fan)

We bagan with Grey wall paint (a warm Dove Grey) & new flooring!


The floors are from Home Depot, Enderbury Hickory Laminte. After many samples - there are LOTS of options for handscraped dark wood floors out there - this was econimical and durable for the dogs too. They add warmth and character and I love the look. It's progress!


Saturday, February 11, 2012

Screen door make over

Let's be honest...I have a fascination with junk! I am forever picking up random old junk in the hopes of coming up with a creative plan to make something out of it. Not sure what my follow thru success rate is with that but at least I have ONE to brag about today...

I purchased this crappy old screen door for $15 at a garage sale.

It set outside for awhile...longer than I care to admit (see it piled among my other loved junking finds) but given the nice winter we are having here in lovely NW Arkansas, and overwhelming inspiration from Pinterest, I've been tackling lots of DIY projects! I decided to transform this old door into a message center for our hallway. Our family needs something functiontional to write family notes on, pin up school notes, and keep track of our life in general. Something functional & cute to look at was the order...and a family project was what we got!

I had my 10 year old daughter sanding away the old chipping paint to give us a good surface to work with.


Then I painted it this cheery Red color and stained it with a Mohogany Minwax stain to keep it looking aged & distressed. I also painted a chalkboard to go in the large end and stamped some burlap pieces mounted on corkboard for the smaller squares.


Then I employed the hubs to help me put it all together. He routered in each of the elements as his contribution so we now have a large chalkboard area on the left, a skinny magnetic area in the middle and 4 burlap squares on the right side which are backed with cork so we can use push pins to them. I'm also considering add a clip to two of those area to function as a clipboard perhaps.

Can't wait toget this up in the hallway and get more organized!
Follow Me on Pinterest

Tennis

Blogging tips
